Saving and dying
| How it works | |
|---|---|
| Where you save | Crystal Monuments only |
| Autosave | None — no checkpoints mid-dungeon ✅ |
| Save slots | One ✅ |
| Rest | Refills health, clears bad effects — and respawns enemies ✅ |
| Death | Back to your last save; everything since is lost ✅ |
The most common beginner mistake in Steam threads is simply not saving. Treat every monument as a must-use.
Fighting
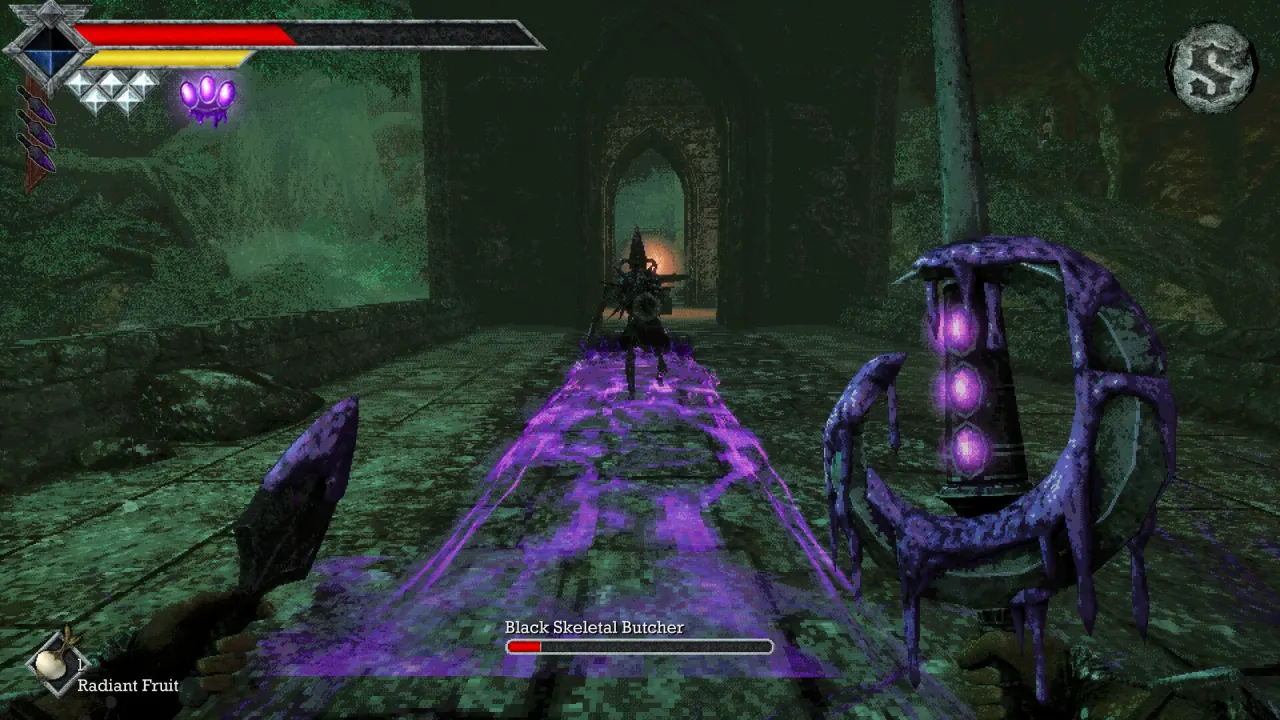
- Full stamina = full damage. An empty bar doesn’t stop you swinging, but the hit does next to nothing. Back off, let it refill, then strike.
- Throw constantly. Throwing weapons (the Dagger Belt is your first) run on a cooldown, not ammo.
- One enemy at a time. Pull enemies apart, let them commit to an attack, then step in.
- Read the bestiary. The publisher’s own tips say to check enemy weaknesses there.
- Your weapons level up as you use them — one player levelled the starting club to 10 before moving on. See weapons.
- Eat the food you find. Food raises your stats permanently, so don’t hoard it.
Getting around without a map
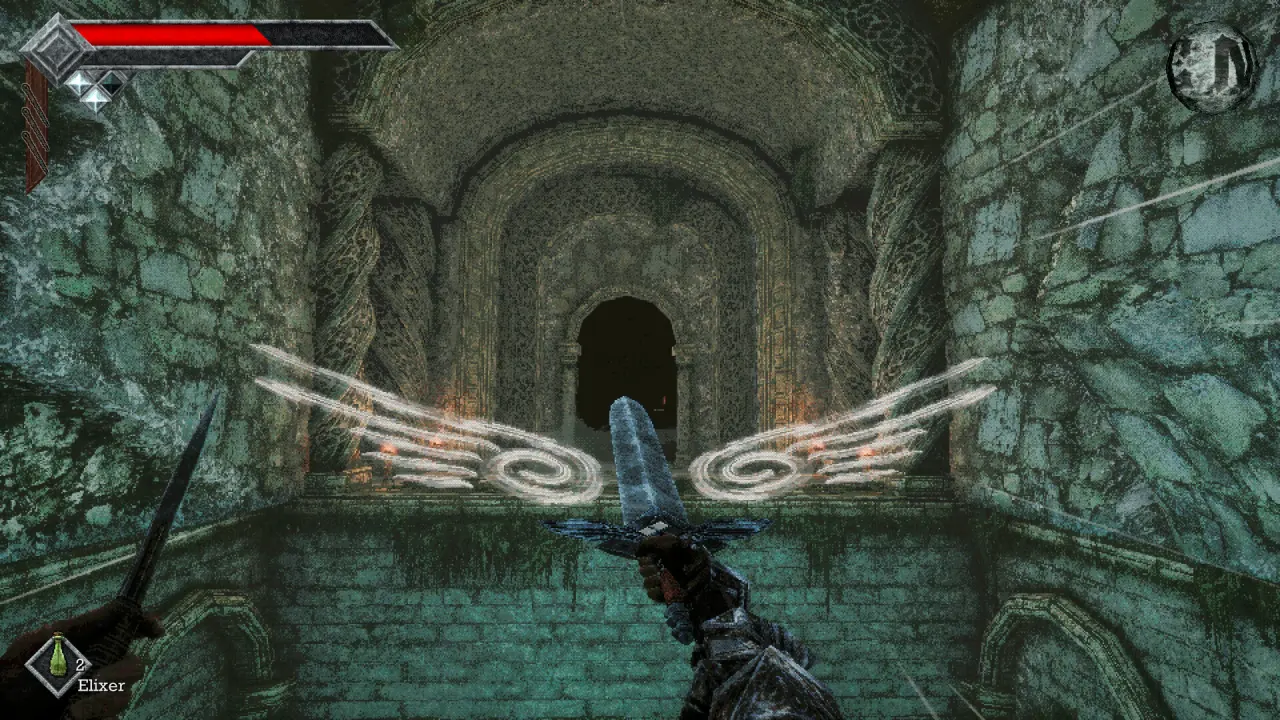
There’s no map — only a compass and landmarks. Ways to move faster (⚠️ from one guide):
| What it does | |
|---|---|
| Wing Altar | A teleport point, roughly one per area |
| Wing Stone Fragment | Consumable: teleport from anywhere to any Wing Altar |
| Travel Crystal Fragment | Consumable: back to the last Crystal Monument you used |
Clearing the end of a dungeon usually opens a shortcut, ramp or lift back toward the start. Follow the walkthrough for the area order.
Secrets
The island is full of hidden walls: if a wall looks off, press interact on it. Some stone doors in the full game open with a thrown blade. Opening every secret door is its own achievement (Concealed Passages) — see the checklist.
Coming from the demo?
Demo saves don’t carry over, and the starting area changed (enemies, secrets and items moved). Uninstall the demo so you don’t launch it by mistake.